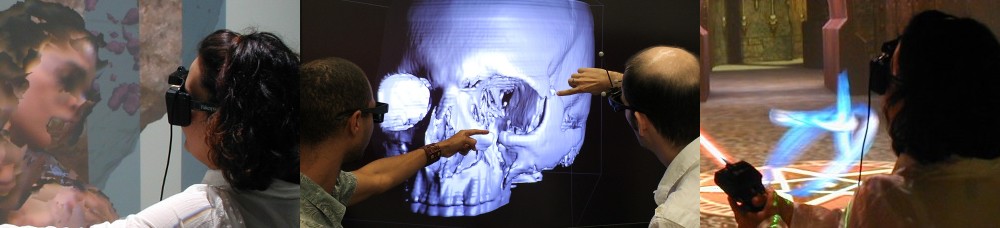
It’s been more than two years since the last time I posted set-up instructions for Vrui and HTC Vive, and a lot has changed in the meantime. While Vrui-5.0 and its major changes are still not out of the kitchen, the current release of Vrui, Vrui-4.6-005, is stable and works very well with the Vive. The recent demise of our CAVE, and our move towards VR headsets until we figure out how to fix it, have caused a lot of progress in Vrui’s set-up and user experience. The rest of this article contains detailed installation and set-up instructions, starting from where my previous step-by-step guide, “An Illustrated Guide to Connecting an HTC Vive VR Headset to Linux Mint 19 (“Tara”),” left off.
If you use a Linux distribution that is not Ubuntu-based, such as my own favorite, Fedora, or another desktop environment such as Gnome Shell or Cinnamon, you will have to make some adjustments throughout the rest of this guide.
This guide also assumes that you have already set up your Vive virtual reality system, including its tracking base stations, and that your Vive headset is connected to your PC via HDMI and USB (I will publish a detailed illustrated guide on that part soon-ish). Continue reading →
Running Vrui-based applications in glorious VR on an HTC Vive head-mounted display requires some initial set-up before Vrui itself can be installed and configured. This step-by-step guide will build upon an already-installed Linux operating system with high-performance graphics card drivers, specifically upon the current (as of 12/17/2018) version 19, code-named “Tara,” of Linux Mint, one of the most popular and user-friendly Linux distributions. This guide picks up right where the previous one in this series, “An Illustrated Guide to Installing Linux Mint 19 (“Tara”),” left off.
If you did not follow that guide, this one assumes that you have a “VR ready” or “gaming” PC with a powerful Nvidia GeForce graphics card, an installation of the 64-bit version of Linux Mint 19 (“Tara”) with the MATE desktop environment, and the recommended proprietary Nvidia graphics card driver. And an HTC Vive VR headset, of course.
Graphics Card Driver Set-up
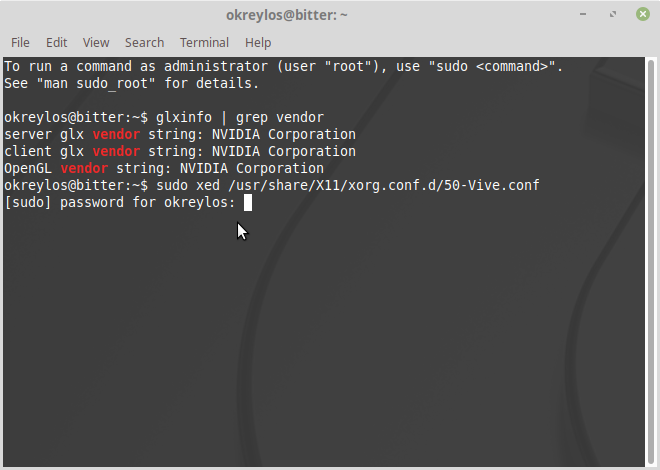
Using a Vive headset with Vrui requires a change to the Nvidia graphics card driver’s configuration. Nvidia’s driver scans connected display devices for known VR headsets, and hides detected headsets from the desktop environment. This does make sense, as headsets are not standard monitors, and it would be awkward if windows or dialogs were to show up on a headset’s display. That said, here’s one relatively large quibble: headset filtering should happen earlier during the boot sequence, not just when the graphics card driver is loaded. As it is, headsets are still enumerated during boot, meaning that boot screens, BIOS menus, boot menus, etc. often show up on the headset, causing real problems. Anyway, carrying on.
Unfortunately for Vrui, there is currently no way to activate a hidden headset from inside an OpenGL-based VR application. For the time being, this means headset filtering in the driver needs to be disabled. To do so, open a terminal window (click on the terminal icon in the panel along the bottom screen edge, or right-click anywhere on the desktop and select “Open in Terminal” from the pop-up menu), enter exactly the following command into it (also see Figure 1) and press the Enter key (the $ sign indicates the terminal’s input prompt; don’t type it):
The first step towards installing any Vrui-based software, including the Augmented Reality Sandbox, is installing some version of the Linux operating system on a new computer, which might sound like a daunting proposition to those who have never done that kind of thing before, but is actually very straightforward. This guide will be using the current (as of 12/17/2018) version 19, code-named “Tara,” of Linux Mint, one of the most popular and user-friendly Linux distributions.
Hardware Requirements
As this guide is geared towards installing and running Vrui-based 3D graphics applications, it assumes that the computer onto which Linux is to be installed is some type of “gaming” or “VR ready” PC, containing an Nvidia GeForce graphics card. The exact model of graphics card, as well as the exact model of CPU, amount of main memory, and hard drive size are not really important (that said, to run 3D graphics applications effectively, the PC should have a recent CPU, at least 4GB of main memory, and at least 60GB of hard drive space). While AMD/ATI graphics cards are otherwise perfectly serviceable, they have traditionally had inferior Linux driver support, and therefore Vrui and Vrui applications have not been tested on them in quite a while. In other words, we do not recommend them for these purposes.
Preparation
Before installing Linux, one needs to download an installation image for one’s chosen Linux distribution and flavor, and copy it to an installation medium, like a CD/DVD or USB stick. For this guide, we will be using the 64-bit version of Linux Mint 19 (“Tara”), with the MATE desktop environment. The page in the preceding link offers a 1.9GB disk (“iso”) image via a wide selection of download sites all over the world. Click the link for the site that is located most closely to you, and wait for the download to finish.
If the installation medium created in the previous step is a USB drive, plug it into a USB port on the new computer before turning it on for the first time. If it is a CD/DVD, turn the computer on first, and then insert the medium as quickly as possible.
The next step is to tell the computer to boot from the installation medium instead of from its internal hard drive. There is usually a key that needs to be pressed shortly after powering on the computer; typically either the “Delete” key to enter the computer’s BIOS, or “F8” to enter a boot menu. If this does not work on the first try, and the computer “hangs” or boots into whatever operating system was previously installed on it, don’t wait until it finishes booting — just turn it right back off (or press the reset button if it has one) and try again. We are going to erase any previous operating system anyway, so there’s no harm. However, do wait for about 20-30 seconds between turning the computer off and on again to avoid any danger of electrical damage. If neither the “Delete” nor “F8” keys work, look in the computer’s manual or online for the correct key sequence. Amazingly, finding the correct key to boot from the installation medium is by far the most difficult step of installing Linux Mint.
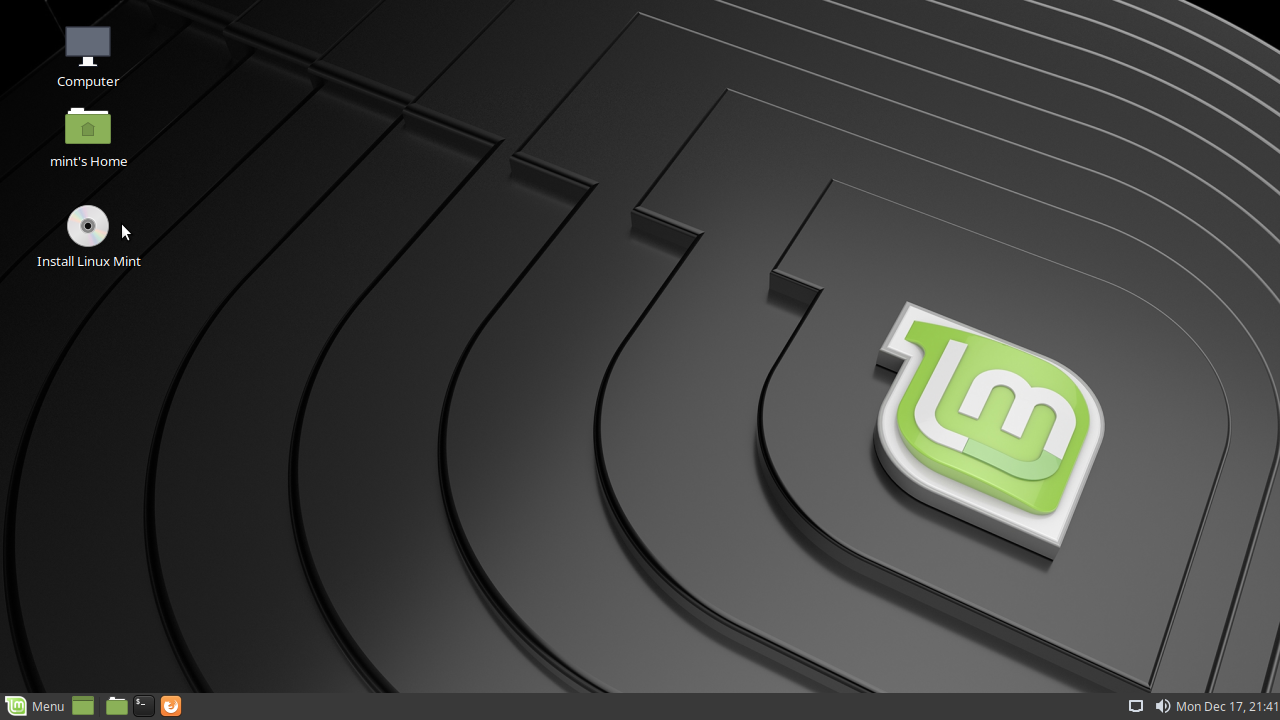
Once a BIOS screen or boot menu show up, select to boot from the installation medium. From there, it will take a few seconds to boot into a “live” Linux Mint environment, see Figure 1.
Figure 1: Linux Mint’s “live” installation environment.